Showing posts with label buffett. Show all posts

Monday, June 4, 2012

Seeking OSHA Approval

Seriously scary?  Yup.  Can you see the drop from the very top (the white is the door from the kitchen swinging out) to the staircase.  That is because Steve was at it again this weekend.  Doing more prep for the new stairs.  He is trying to do all he can without totally making havoc on our house-at least for as long as possible. He actually took down the wall next to the basement stairs and detached the stairs so that they are independent of all else.  Scares the shitzies out of me to walk down the stairs now but at least I have access to the basement. And we're getting closer to new stairs and a new kitchen.


After much hymming and haa-ing, doing a ton of research on-line and talking with his brother who has a construction background, Steve has decided that he is going to rebuild our stairs on his own.  Apparently most of the really hard part of stairs is having a good plan (he has everything drawn up in CAD) and being precise (he's an engineer so yes and yes). 
yikes, a piece of knob and tube just hanging there exposed....we need an electrician stat!
City of Portland also has a bunch of great resources on-line for our local stair codes so that has been really helpful.  Our one question is what the thickness of the tread needs to be?  We can't find a great answer anywhere and are debating between 3/4" or a true 1".  Anyone know?

In prep for these new stairs, I emptied out the built-in that will need to be moved to make way for the new stairs.  Steve hopes to start this weekend, which will entail first carefully detaching/moving the dining room built-in and then demo'ing the attic stairs before starting to build the stringers for upstairs.  He plans to just swap around the basement stairs (this is easy with them being moveable and all) to their new placement until he is able to rebuild them.

After Steve does the basic build, we plan to hire a contractor to lay white oak going upstairs and marmoleum down to the basement.  I want to see if it would be more cost effective for us to use the marmoleum click system (they have parts for stairs) or have a professional lay the marmoleum sheets for us.

BASIC ANATOMY OF STAIRS
via

Wednesday, February 2, 2011

Stairs-layout ideas

Steve has been playing around with different stair layouts for several weeks now.  Several years ago he tried to tell me that there were no other options for our stair layout. Well, at Christmas time, Steve came around and started playing around with moving the upstairs case to the hallway (bottom right drawing and second drawing) (then the basement stairs would be moved to the back of the house by the back kitchen door where the current upstairs case is)--> while I love this idea, the stairs would have still not been to code based on the curving of the case and the slope.  They also would have only worked if an ~4/4' section would have been removed from the back bedroom which is currently our bedroom.  While this is not devastating, I do not like the idea of cutting into either of our already small bedrooms. 

 Anyways, we decided that this was not such a hot idea and moved on, trying to think of other ideas.  Our basement stairs currently come out at the back of our house, by our laundry room and workspace/utility room/pantry....I have never loved this idea, because, well, let's face it, I am a realist....my laundry room will never be spic n' span and look the way I want it to and I do not want to be stressed about cleaning the laundry or utility room every time we have have guests come over.  Enter current plan. 
a few drawing of what our roofline may look like after the addition (I promise, no just a few libations involved when Steve's bro came over and took over the drawing board)

 Here is our current plan.  We hope to move our existing dining room built-in buffet (one of the main reasons we fell in love with the house) to the opposite side of the kitchen entrance and make that area the staircase to upstairs.  We would basically be doin' a switcheroo with the dining room built-in and the basement/upstair-cases.  We would then properly go upstairs with a current code staircase that will be slightly grandeur as opposed to the current entrance that is narrow and steep and at the very back of the house by the dog door and back door (so not posh to go upstairs to the master suite after walking thru your kitchen)
current layout
current basement stairs behind door and dining room built-in buffet just to right, stairs to attic just behind/left microwave

existing stairs to attic/future master bedroom/less than romantic and inviting...may I add the the railing wobbles as well
Ben helping plan the new house layout...guess he really wants a playroom

Tuesday, February 1, 2011

Finished!!!! ...the buffet that is

We accomplished a major house milestone last weekend.  We are so proud to actually have a project completely done.  Well, except for maybe rubbing some furniture wax to the underside of the drawers to help them move a bit more smoothly.  We found that it was a little more difficult than expected to install the offset drawer pulls.  The knobs (they no longer sell in unlaquered brass-I found these in the seconds clearance dept. at Rejuvenation) were a cinch after finishing the pulls.  While I wish I could have found some antique pulls and knobs, I am quite happy with the results.  

Anyways, here are some pictures of the complete buffet:


Steps to install pulls:
1. Find center point of cabinet by finding where two diagonals of drawer  meet.

2. Make a template that aligns with center and top of drawer.

3. Lay pull on side to mark where holes in pulls line up with center point of pull and drawer.

4.  Lay template on wood, aligning two center points, and use hole punch to mark where to drill

5.  Pray you've marked it right and drill away
6. Screw  it all in and enjoy!

Staining this puppy-what a project!  6 coats after you account for pre-stain conditioner, 2 coats of stain and 3 coats of polyurethane...mid October 2010 on the front porch
love the storage that this piece provides, I was actually able to bring some serving pieces and baking dishes up from the basement and finally have my soup pot upstairs and in my kitchen!

Wednesday, August 25, 2010

The Buffet has Arrived


After meeting to look over and make final decisions on our buffet, it was delivered to us 1 1/2 weeks ago and it is beautiful!  We still need to stain it, but that has not yet happened with my being out of town last week.  We tested some colors on scrap wood and will probably go with gunstock by urethane.  We plan to stain the inside and outside of the buffet even though the outside is quarter sawn white oak and the inside is a mix of red oak and mahogany-we saved on cost by using different wood inside and on the back of the piece.  Our craftsman (he was amazing) added lots of extra little details to make the piece perfect.  Now I need to find some cool cabinet hardware.  Hopefully finished pictures will come soon.   

curves to add a little softness and detail...bottom feet match our Haywood Wakefield chairs

sample stain on scrap wood                                                    faux divider cut into door

Wednesday, August 11, 2010

Mid-Summer Projects Indoors

As many of you know and experience yourselves (unless you live in California and have year-round summer, as I did for the first 25 years of my life), when summer comes, projects move outdoors as there is such a short window of opportunity to get them done.  However, we have managed to fit a couple indoor odds and ends onto our summer list.
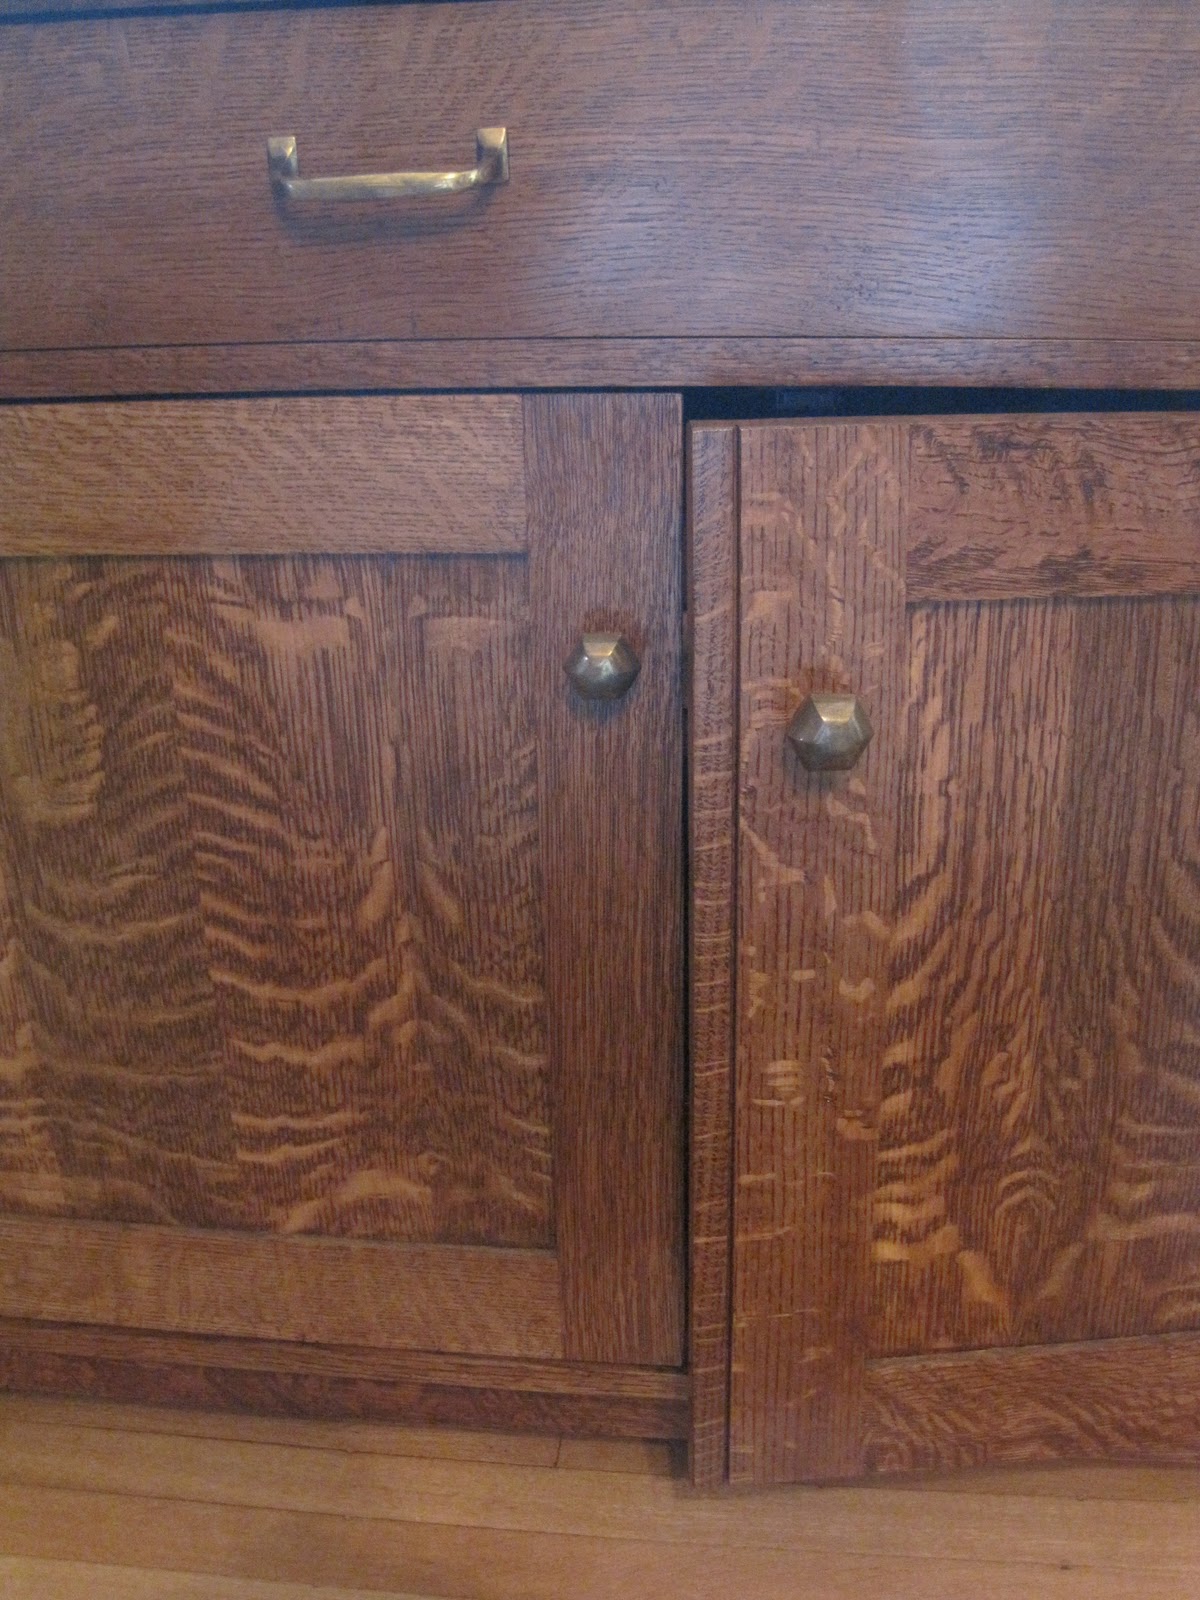
      Progress is going really well on our buffet; we are going to go view  it and hand over the salvage hinges we got from Rejuvenation and slot screws from Winks hardware on Thursday and Mike reported that he may even have it completed and drop it off to us by Friday! 
   Steve has once again entered a clean out phase on the house and the current project is selling books, CDs and DVDs from his parents house as well as some of my text books from grad school (I am happy to report that most of them were actually still worth some money 4 years later and they are selling fast).  Here are a couple pictures of the upstairs front room which is embarrassing-ly messy (mostly with things from Steve's parents house that we need to sell) as well as the bookshelf we set up with all the things we have listed on Amazon.  I would like to say (but not sure if we were ready to take on the project) that we might have started this process a couple years ago when we sold the parents house, but items need to be shipped within 2 days of sale which made it impossible with a full-time job. 

I have also been dealing with our "leaded glass."  After unpacking the glass, I realized that it is not true leaded glass, rather it is a sticky lead material that sticks onto a full panel of glass.  While the doors look awesome, I am very concerned about how well they will hold up with a toddler in the house and I feel that the cost is too much for a project I could have completed on my own.  I contacted the place that made them and she sympathized with me and told me that she would get back to me with some options on what we could do about it (she said that she almost always explains that it is not true leaded glass) but I have yet to hear back several weeks later so I left another message today. 

Friends are exploding with babies as well so I have kept busy making baby quilts, burp rags and baby towels which I enjoy doing...sorry, I keep forgetting to take pictures but hope to soon.  Ben keeps telling me how excited he is to have all these friends coming.

Thursday, March 5, 2009

$13 Built-ins?


here are more pictures that have inspired our current and close to most expensive to date design project. We are currently having some amazing fir custom built-ins made for our living room/dining room divide and around our fireplace. Along the lines of picture #2. It is so fun to come home almost everyday this week to something new in our house and work with the cabinet maker to problem solve design dilemmas that seem to come up 1-2x a day. Just thought I'd share some of my finds of cool pictures that have and continue to inspire...