

 |
| Ben with his great grandma who is amazing at 92; of course he visited with all his uncles, auntie and grandma and grandpa as well |
 |
| think he likes the beach? |
 |
| Steve loves diggin holes |
 |
| and Ben loves standing in them |
and have been actually trying to enjoy the awesome summers in the Pacific NW. This weekend we did some house work but also hit up the Division Street Fair on Saturday, hit up some local parks, took part in biking Sunday Parkways NW (Ben is so into riding in the bike trailer these days) and spent some time letting Ben romp in the water and climb the falls at Jameson park in the Pearl. It was awesome! We were going to go berry picking as well but that will just have to wait a bit.
Anyways, enough of our lovely summer and Ben cuteness and onto house work-sigh!
While Ben and I went down to Cali a few days before Ben (you know, someone needs to bring home the bacon), Steve spent pretty much a whole weekend staining and I plan to sort of detail the steps and extremely time-consuming yet worthwhile (coming from the mouth of someone who only put in about 2 hours of labor BUT Steve thinks it was worthwhile as well).
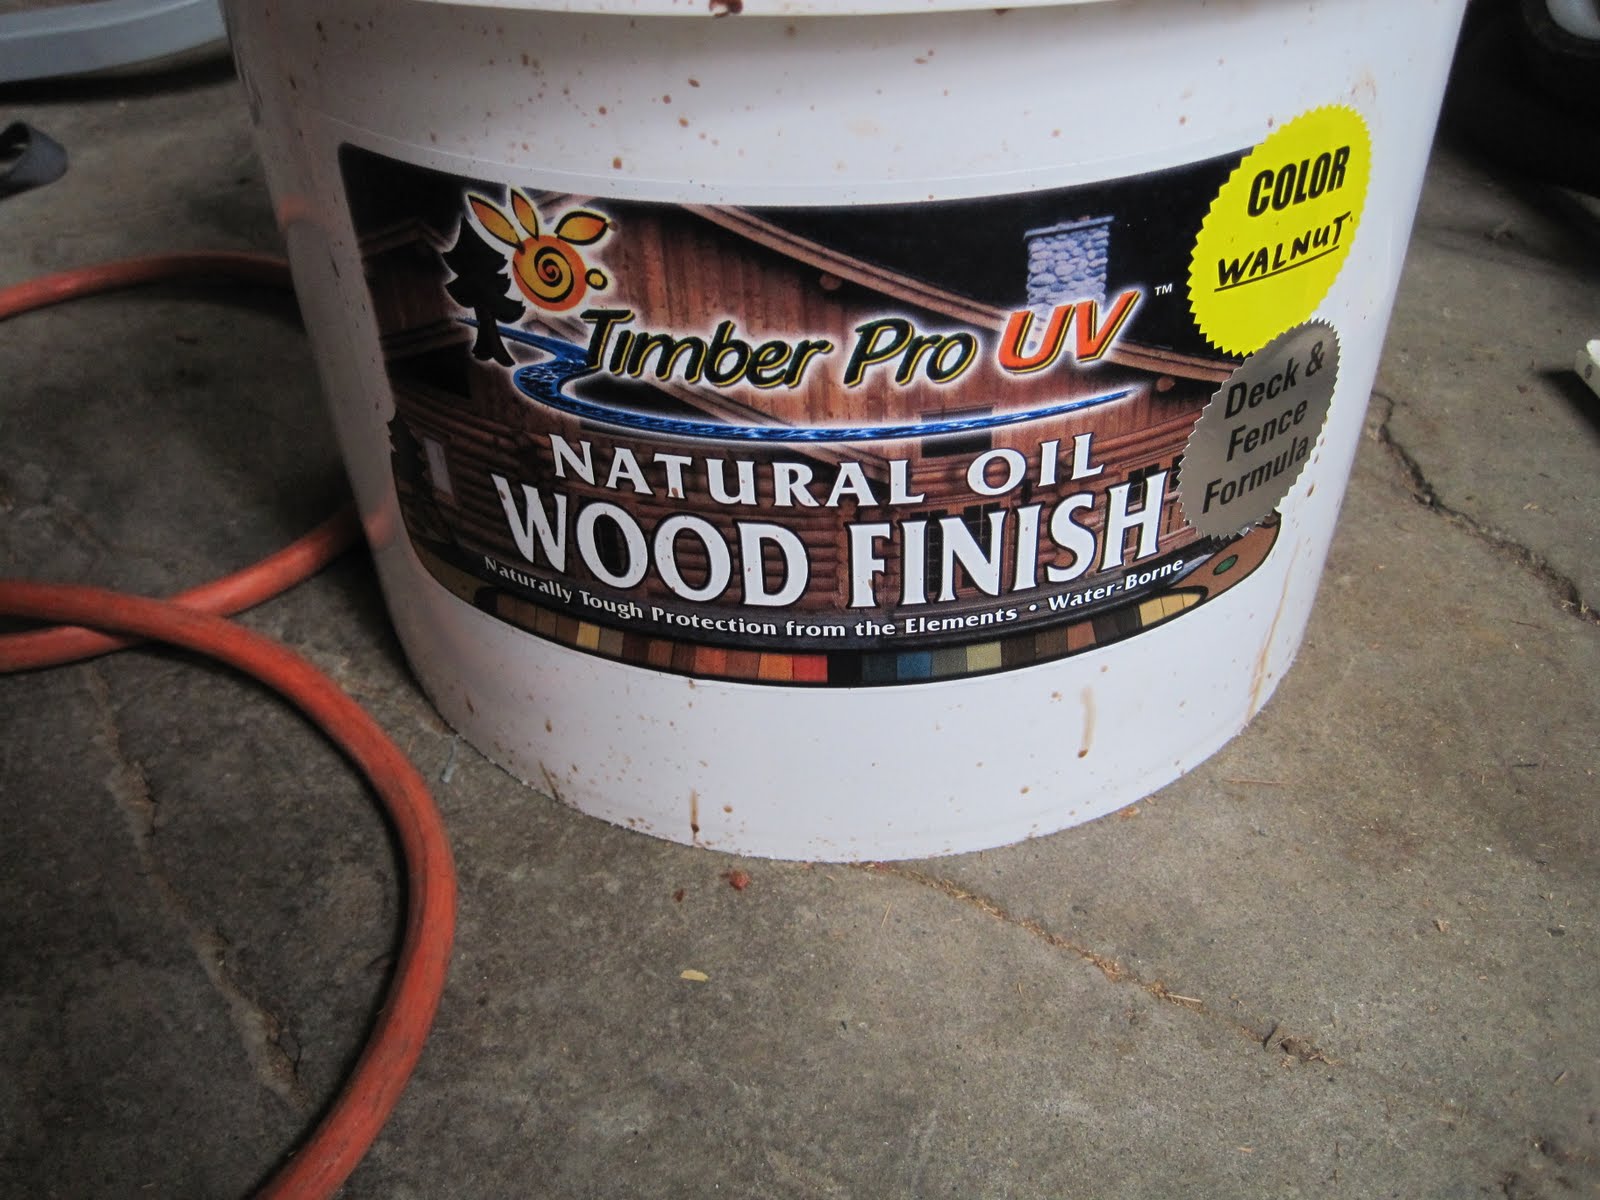
We decided on using a product recommended by Custom Cedar Products where we purchased our fencing wood. We liked the product because it was environmentally friendly, lasts 4 years before needing a re-coat, protects the wood and the Timber Tek UV store on Burnside and 22nd gives free color samples which is a plus. Plus (again), we also got contractor pricing because we had bought our cedar from custom cedar products. They did the math for us an figured that we needed 3 gallons which was pretty much precise with us having about 1/16 of a 3 gallon bucket left over after putting 2 coats on all the cedar except the lattice.

1. wash with clean and brite. Also a product sold at the same store. We used just a 1/2 gallon and were able to sell the other half to our friends who are about to stain their new cedar fence. This product was awesome as there was already many water stains and a lot of dirt on our fence. We also had a small amount of mildew which came right off. In addition, it helps brighten the wood a bit (that is remove mild greying of the wood which we were already beginning to see after just a couple months). You follow the directions on the can which basically tell you to dilute the product, scrub it on (Steve used a hard bristle scrub brush) and rinse. This took a good portion of Steve's Saturday after he had taken us to the airport and went to buy the cleaner and stain.

3. Start the staining process. We opted for Walnut color after sampling 4 different colors (wish I had a pix of the samples color board we created). Steve informed me that this step takes a great deal of time (as in he worked from 9-9 on Sunday to put two coats on pretty much every thing except the lattice). What a trooper! For him, he found that the process was a little bit harder with just one person. He switched between rolling on the stain with a regular old paint roller and brushing it out with a large brush and spraying it on with an old spray bottle and brushing it out. He opted not to use a hose sprayer due to the mess it would have created and that it may have stained our concrete as well as gotten all over our organic veggie garden. Not much to report on which was easier for him. You let the first coat dry and then apply the second.
 |
| as you can see, the temp needs to be just right, bot too cold or too hot-the product (as with all stains) will get sticky if it is too hot and sunny out |
 |
| partially stained...the large vertical boards stained |
It involved taking sponge brushes and just dabbing it on-we got the first coat on (doesn't seem to need a second as water is beading just fine) in a couple hours of both of us working. Here is a terrible video of what it entailed. You also had to make sure that you did not get any stain on the other side of the fence as you would have to run around the fence and spread that blob out so it did not leave a big spot of darker stain later on.
4. Enjoy! Enjoy! Enjoy!
 |
| we love the darker, non-orange color and how it repels water |
 |
| the upfront side is stained but not the back side-can you see the greying on the back side? |
No comments:
Post a Comment