Showing posts with label built-ins. Show all posts

Monday, January 20, 2014

THE "Mudroom" Beast is Complete


“Never, never be afraid to do what's right, especially if the well-being of a person or animal is at stake. Society's punishments are small compared to the wounds we inflict on our soul when we look the other way.”
-Martin Luther King, Jr.


After what seemed like a million hours spent putting on a coast of pre-stain conditioner, 2 coats of stain and 2-3 coats of poly depending on where it was on the piece (with sanding in-between), I declare the "mudroom" complete.  And we are in love.  It is absolutely awesome. While we haven't fully stocked it with our stuff, I know that is going to be awesome on a day-to-day basis.  And it fits in seamlessly with the rest of the house.  Looks like it has always been there.  You can follow my journey to the finished product here and here and here and here and here.
my drawings before they came to life


I want to thank the peeps that gave input to the original drawings I posted on the blog-the ideas were so helpful. And thanks to Joe from Dovetail Custom Woodworking for building the beast.  I think it was more than he bargained for when he bid it out.  You should have seen install day...s...


added metal grating for breath-ability as recommended by a reader.  We are still trying to find a way to line the drawers so that we can store (often wet) shoes inside.  I have found some plastic bins that are a pretty close fir for now. 


........so pretty.  Love the brass (aged with brass ager from Rejuvenation) hooks from House of Antique Hardware...all the hardware is actually from there


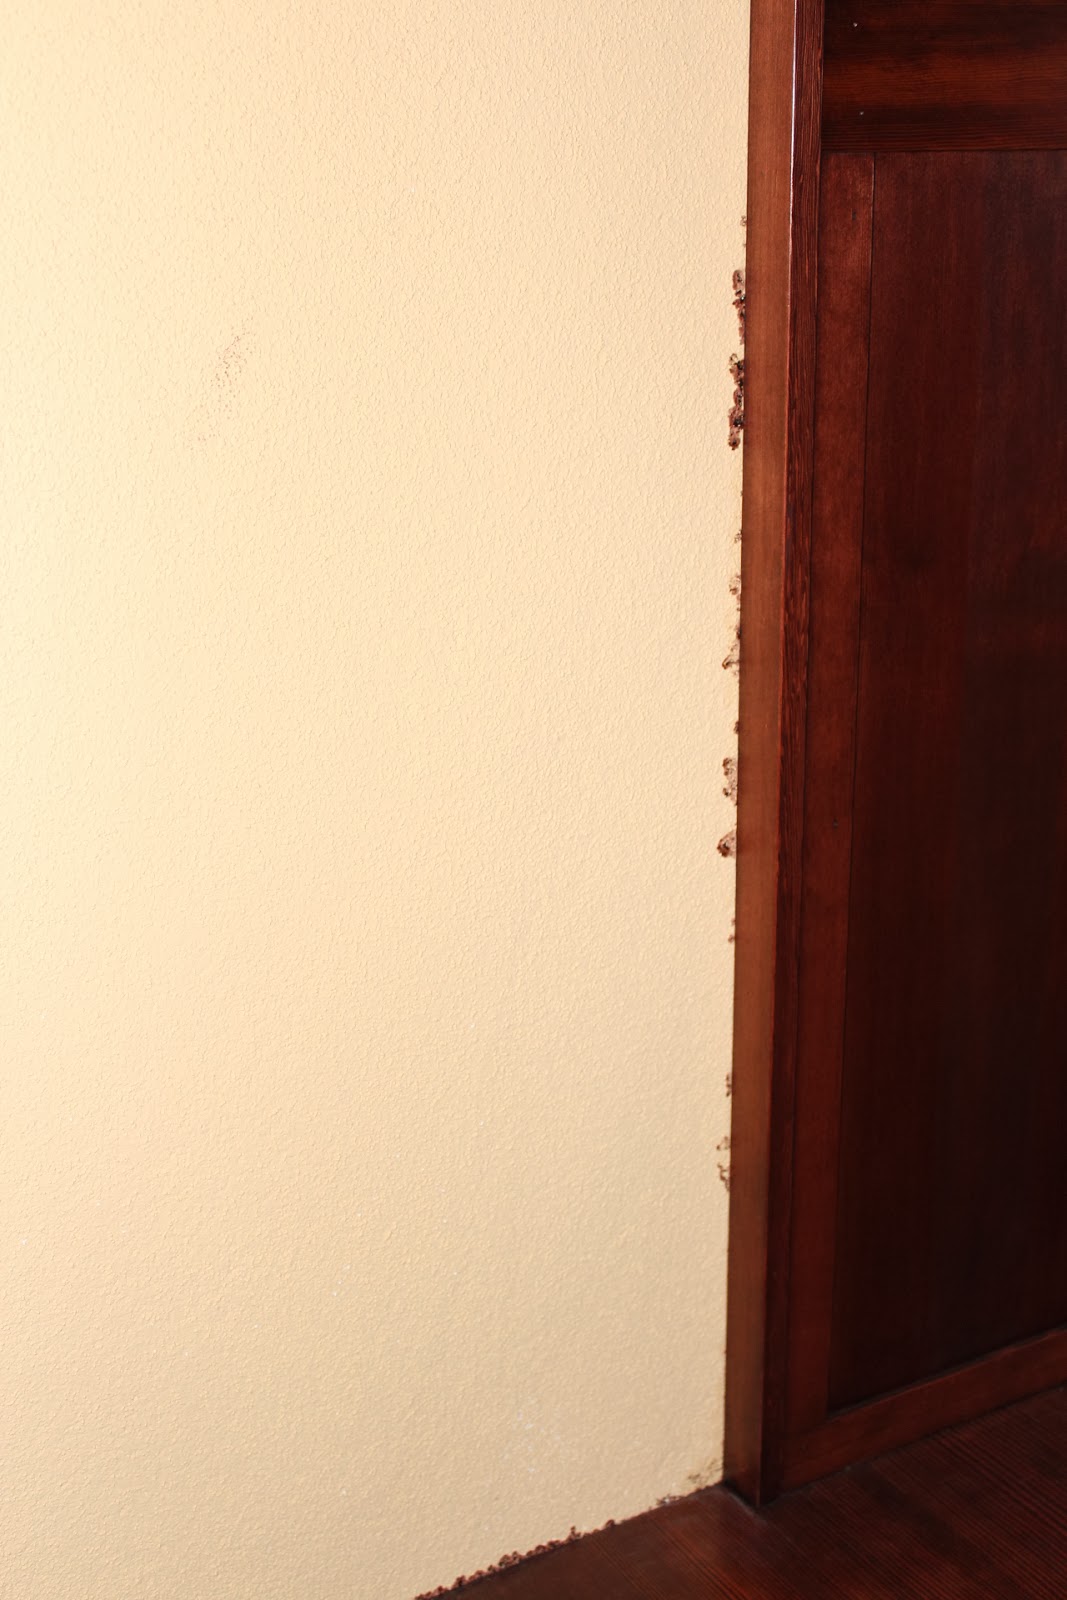
Ah, the joys a super textured plasters walls.  Lots of paint touch ups.

And a cute tootsie shot to leave you with...more to come soon.


Wednesday, November 20, 2013

"Mudroom" is under way


We got the final sketch ups to approve last week and the "mudroom"/entryway built in is in the works. We have no idea how long it will take to finish, but we can't wait. I hope it will be all in and stained by mid-December. We'll see.
Without further ado, here are the sketches. 

We didn't like the look of the paneling detail in te right side. Taking it out will imitate the design of the paneling by our fireplace. 
Terrible picture but you get the idea. 


I even picked up the metal grating that will go on the lower drawers from Winks Hardware today. I just need to pick out and purchase hooks. We opted for the clover leaf pattern. Should add some nice "breathing" to the drawer as we plan to stow shoes, which are often wet in our climate, in the drawer. 

Wednesday, August 14, 2013

"Mudroom" Sketch-Up


I finally got the time to start sketching up "mudroom" designs based off of the inspiration photos I posted several weeks ago.  The design above is what we are tending to like the best thus far.  However, I would love any input anyone has to give.
Here are some things I am questioning about the "mudroom"
  1. should we add a 1x6 at the base of the cabinet so it is similar to the rest of the built-ins throughout the house?
  2. should the large pull drawers at the bottom be real drawers or just tip down/out?
  3. On the large right side bank of cabinet doors (3 shown), should it be 3 doors or just two (one upper that will be the same size as the other upper cabinets and one lower)
  4. should that bank of cabinets as well as the upper bank come out as far as the seat-18" or more like 14-16"
I would love your opinions and any other ideas!


Outtake Drawings:
I love the idea of the baskets but I don't want any "junk" showing (stuff might hang out of the baskets) and I fear that the whole basket rage may be too trendy and not timeless
 
Like the ease that open shelves on the bottom would bring but I fear that it would always look messy.  We are trying to avoid messy in our front entry as much as possible.

Seemed too busy with the 3 drawers to the right

Monday, September 24, 2012

It's all framed up

Wanted to share my hubby's progress over the past two weekends...he has been one busy bee.  I am so impressed with him.  He managed to get all this done as well as start stripping the door frame for the basement door despite hurting his back in the process.  Everything is all framed up :)  Woot! 
the framed out rectangle will hold our "faux" ironing board like I talked about here  This is the back of the built-in and to the left is the door going into the kitchen

basement stairs doorway is framed

basement stairs wall all framed with access to underneath for storage

wall between dining room and kitchen

Now just a few more small projects before we are ready for plumbing and electrical. 

Here's our check-off list with a couple more items completed:
  1. finish framing
  2. re-install dining room built-in --this is half done
  3. rip out old floor
  4. patch large hole in floor (with studs) from old chimney
  5. install 1/2" ply subfloor
  6. electrical (that includes getting electrical bids)-hired out
  7. plumbing-hired out
  8. insulation
  9. drywall-hired out (we still need to get bids-is there anyone you can recommend?)
  10. new to us back door (purchase & install)
  11. frame out and install new basement door (we are using the door that went from our bedroom into the kitchen as it is in great condition)--half done
  12. put in gas line for stove
  13. put in vent duct work
  14. decide on pantry pull out shelving placement
  15. order dishwasher--> hoping to hit up labor day sales this weekend and score a deal
  16. order cabinet bin pulls 
  17. order hinges for cabinets
  18. order kitchen sink
  19. clean up basement so contractors have access-it is not only dangerous, but is one scary sight right now --half done

And a picture of the two little munchkins this morning.  It is Laurel's 2nd Birthday today so we rode the MAX train downtown (this is like going to Disneyland for them:) and met up with Steve and Laurel's mom for lunch.  I can't believe how big they are getting.

Friday, September 14, 2012

The Real Deal

Our Cabinet builder sent us over final drawings tonight and we just need to make any last minute changes and sign off on them.  He already has all of our wood and hopes to start building Monday!  There are a couple little changes I want to make but I am totally ready to count hinges and pulls and order those suckers tonight.  SOOOO exciting!  

range wall, thinking of just a single panel for the hood--seems too busy with a design that repeats the cabinets above.  I think I only want to baseboard detail on the cabinets closest to the range and no toe kick on the floor to ceiling pantries.  Any input?

this all looks good to me.  Any ideas?

This also looks good to me


Now to get our butts in gear. :)  Once we get past all the small framing details, plumbing and electrical, we will really start to see changes!!!

Wednesday, September 12, 2012

Feng Shui

For those of you who have kids, you will understand what I am about to say. 
1. Ben slept in until almost 8am on Sunday morning!  Yes! 
2. Steve's bro and bro's wife, Amber, took Ben to the zoo when he woke up from his nap on Sunday until after dinner and we got soooooo soooo sooo much done.  I forgot what doing house projects without a baby/toddler was like.  You, like, actually get something done.  Amazing!

Anyways, on to the Feng Shui. 

While I was busy outside on Sunday afternoon (more on that later this week), Steve was busy trying to prep the kitchen/dining room wall for the built-ins new house.  Anywho, at 6 when Ben, his uncle and auntie returned, Steve's bro was nice enough to help Steve place the built-in in its new hole.
  

Some of the prep work that went into it all.


What our house might look like if it were an open floor plan.  Fun, but so not historically accurate bungalow.


Moving it in.


And the aftermath.  So sad.  Darn that old brittle wood.  The top split a bit in one corner, as did the side bottom area and a piece totally broke off at the very bottom.  Luckily, this appears to be nothing that a little wood glue can't fix.  However, totally devastating at the same time. 

So, anyone know anything about Feng Shui?  I am clueless, care to let me know if this works?

Monday, June 25, 2012

We have stringers....

Steve and his bro were quite the weekend warriors.  Steve & I worked from 7-10:30 Thursday night, Steve and his bro put in a full work day Friday and a 12+ hour day Saturday.  In between all the demo & construction madness, my sister-in-law and I were attempting to get Ben out of the house while I fervishly cleaned house...my hands are raw after all the wiping, vacuuming and mopping that took place this weekend.  Steve and I spent ALL day Sunday just cleaning up and getting together/dropping off wood at Waste management wood debris drop off of 42nd and Columbia.  A ton of work; we're exhausted and spent and giddy all at the same time.

Here's how it all went down:

Thursday night: Weren't the stairs attached in a very interesting way?  Not nailed and supported from below, just side nailed.  But really sturdy. I really wanted to salvage the fir stringers because the wood is gorgeous but it just couldn't happen as the wood was really brittle and splinted with literally hundreds of nails. :(


 Friday: after Friday, we surely had an open and kid-friendly floor plan [enter sarcasm].  Amazingly, we only lost one piece of wood (far right) in the whole built-in move process.-phew
last glance at the built-ins resting spot for the last 99 years (reminds me of 99 bottles of beer on the wall, maybe because we needed lots of micro brews to get us thru the weekend)

door to nowhere just prior to demo; used to be door to basement stairs

old basement door stairs cat tool door has good use after all

cutting out to move the built-in, slow and steady does it...

found more of (like our bathroom) the faux tile plaster...just absolutely kills me to rip this out.  Looks like it went up to chair rail height-why was this ever covered up with cheap paneling when it is in perfect condition?


and she's out-the built-in

drew lines where the wood needed to be cut for the new stair that will cut into the dining room
Saturday: Steve and Greg were super bummed to discover (at 10pm on Fri night none-the-less) that the wall  between the kitchen and stairs was too unstable to help support new stair stringers.....so, Saturday morning Steve tapped off the area and had to demo that wall (and the gorgeous faux plaster tile).  They spent most of the morning cleaning the area after demo and going on another lumber run.  Luckily, this project (both sets of stairs & reframing 2 walls (one basement & 1 kitchen)) has only set us back a  few hundred so far.  Of course, we have yet to purchase the pricey finish materials and pay for install.  Still, we are saving a  ton doing this ourselves.  
They spent the remaining part of the day-until 10pm-ish-reframing the wall they removed and cutting the new stair stringers.  They were so motivated and it was awesome!


new wall and upstair stringers

new basement stairs

obviously there is some knob and tube that needs to be removed-just love the hanging wires and my guess is it's hot

Now onto attaching the upper stairs and then the risers & treads & drywall. :)