Just wanted to give you all a heads up that both Rejuvenation & Restoration Hardware are currently running up to 25% off bathroom sales.
We are in process of creating some art for our bathroom and I am hoping (but in doubt) that we can finish that up before Restoration Hardware's sale is over so that I can score some super plush towels on sale to match the new artwork...dare I say that I would like blue towels so bring a bit of blue in the house? I typically hate anything blue in our house for decorating, even though I usually love it in other people's homes.
From Rejuvenation, I need to go and pick up a couple polished nickel escutcheon plates for the toilet as well as sink. We currently have super cheap chrome ones that don't match the rest of our hardware and have gotten all rusty. They don't sell these plates online, but I have seen them in the store so I am hoping they are on sale.
***UPDATE: I just went to Rejuv this afternoon and I guess that everything is on sale because they will be discontinuing all of their bathroom things other than the light fixtures, towels bars, hooks, t.p. holders (that sort of stuff). Unsure about the bath tubs but it sounded like they will no longer be carrying sinks, toilets or all the plumbing line type stuff. Soooo, the sale will go on until everything is sold out.***
Tuesday, January 24, 2012
Tuesday, January 17, 2012
Woodworking class results
My friend Sharon over at Laurelhurst Craftsman Restoration reminded me over a month ago that I had never posted pictures of the projects I finished while taking woodworking with her over at PCC.
Without further ado, here are a couple of the things that I was able to complete during the class.
 Our first project was a cutting board. We did a cutting board because it was a quick and easy project that taught us how to use many of the tools in the shop. Of course, I didn't want just a plain ol' cutting board with a handle and had been eyeing the state shaped cutting boards on etsy, so I decided I would test my skills with a jigsaw. Success!
Some of the steps included planing the wood, gluing it up, more planing, tons of sanding and using the jigsaw before sanding it more. Mine is made from Dark Walnut and one other (maybe Beech? I can't recall). When all finished, I oiled it up with mineral oil. Not thinking about where I placed it, it has sat on the window sill just above the kitchen sink for around 4months. When I took this picture, I realized how many water splatters and therefore color alterations it already has. Guess it's time to sand it a bit with some 400 grit sand paper and oil it again.
I love the cutting board so much and got so many complements that I made a few more Oregon cutting boards as Christmas gifts (including a mini version that my friend Chris, who I always talk about, plans to turn into a book end) as well as a California cutting board for my friend Katie (it came out super skinny so I think it will more be a display piece or just for maybe a log of goat cheese).

And the big project that we did next was supposed to be a plant stand. However, I altered the size a bit so that we could have a side table for next to our living room couch. I have been looking for a table for a couple years now-it needed to be relatively narrow at just over a foot wide. And oak. And have a great place to hold a beer (ok, let's be honest, maybe two).
This project took a ton more work but I really enjoyed it.
I was delighted to learn that we would be joining all of the parts of the table (with the exception of the top) together with mortise and tenon joints-many arts & crafts pieces of furniture are joined this way. You basically use a router to cut out all of the pieces and then adjust sizing as needed to make the male and female parts fit accordingly. I had to use a file and chisel to make the male pieces quite a bit smaller but it all worked out. After many fittings and making sure everything was plumb and level, I glued it all together.


The only hardware consists of two screws and plates (can't recall the name but they basically are a bit loose and allow to wood to expand and contract easily without damaging the wood and keeping things study at the same time). The plates insert into little cuts in the frame of the wood (you can see the slits in the pix 3 above).
Another thing I like about the table is it is white oak-the same kind of oak that our dining room buffet is built out of.

In addition, the lines of the table (the instructors had a pattern with these lines already made) match the lines of the buffet as well as our living room chairs.
After all the glue was dry and the piece was home, I finally got around to staining it between Christmas and New Years. That's when I attached the two pieces of hardware. Already loving it and Steve is using it to hold his beer as I type. Mission Accomplished.
 I gave myself a big pat on the back last week when my brother in law was over and he commented on the nice new furniture piece (my table) that we got and how much he liked it. Woot! 10 points for me! And he has worked in carpentry :) He didn't even know I made it (with a ton of help from the teachers) but he also didn't look really closely and therefore wasn't able to see all of my mistakes. I was going to take the class again to build a built-in for our bathroom (the teachers agreed to help me if I brought in dimensions and a sketch), however, my dad offered to build it (as I talked about a few days ago) when my parents come to visit at the end of the month. Sounds like plan to me.
Without further ado, here are a couple of the things that I was able to complete during the class.

Some of the steps included planing the wood, gluing it up, more planing, tons of sanding and using the jigsaw before sanding it more. Mine is made from Dark Walnut and one other (maybe Beech? I can't recall). When all finished, I oiled it up with mineral oil. Not thinking about where I placed it, it has sat on the window sill just above the kitchen sink for around 4months. When I took this picture, I realized how many water splatters and therefore color alterations it already has. Guess it's time to sand it a bit with some 400 grit sand paper and oil it again.
I love the cutting board so much and got so many complements that I made a few more Oregon cutting boards as Christmas gifts (including a mini version that my friend Chris, who I always talk about, plans to turn into a book end) as well as a California cutting board for my friend Katie (it came out super skinny so I think it will more be a display piece or just for maybe a log of goat cheese).

And the big project that we did next was supposed to be a plant stand. However, I altered the size a bit so that we could have a side table for next to our living room couch. I have been looking for a table for a couple years now-it needed to be relatively narrow at just over a foot wide. And oak. And have a great place to hold a beer (ok, let's be honest, maybe two).
This project took a ton more work but I really enjoyed it.
 |
| via |
I was delighted to learn that we would be joining all of the parts of the table (with the exception of the top) together with mortise and tenon joints-many arts & crafts pieces of furniture are joined this way. You basically use a router to cut out all of the pieces and then adjust sizing as needed to make the male and female parts fit accordingly. I had to use a file and chisel to make the male pieces quite a bit smaller but it all worked out. After many fittings and making sure everything was plumb and level, I glued it all together.


The only hardware consists of two screws and plates (can't recall the name but they basically are a bit loose and allow to wood to expand and contract easily without damaging the wood and keeping things study at the same time). The plates insert into little cuts in the frame of the wood (you can see the slits in the pix 3 above).
Another thing I like about the table is it is white oak-the same kind of oak that our dining room buffet is built out of.

 |
| 1920s Heywood Wakefield living room chair detail |
 |
| custom built dining room buffet detail |
After all the glue was dry and the piece was home, I finally got around to staining it between Christmas and New Years. That's when I attached the two pieces of hardware. Already loving it and Steve is using it to hold his beer as I type. Mission Accomplished.

Monday, January 16, 2012
A quick bit of closet organization

Within the last month or so, while perusing blogs (or was it pinterest?), I came across a handy little way to organize scarves.

Being that this is how my scarves looked, I thought it might be a good investment. Plus, my scarves were kept in Ben's room and I would rather not risk waking him up if he is napping in order to get a scarf.
And where do you get such a cool little organizer do you ask? Well, Ikea of course. The Komplement (luv the name) is just $7.99 and I am LOVING it.
After about 10 minutes time, I realized I had one scarf that had been shrunk to Ben size at some point and a couple others that I forgot I even had.

I suppose you could also use it for ties or belts. :)
Wednesday, January 11, 2012
Caulking the tub at last
 |
| pre-caulk |
I think it was last summer that I talked about still needing to caulk our tub after remodeling the bathroom, having new tile installed and having the tub resurfaced. Well, once again we got busy and although not having a smooth caulk line around the tub bothered us, we put the project on the back burner. We knew it was really bad when we had my brother and 5 of his friends visit for a week in November. We couldn't figure out why we all of the sudden had a leak somewhere in our newly plumbed house. Anyways, no leak, really, water had just been spilling out of the tub with 9 people bathing each day for a week and water had leaked into the basement from the areas between the tub and wall/floor into the basement.
 |
| purchased from Dal-Tile, sanded caulking, an exact color match to our grout |

After we all showered up Saturday morning, he thoroughly scrubbed the tub and surrounding areas that needed caulking. The let it dry for close to 12 hours.


Finally, after it was all good and dry, he spent a couple hours closed off in the bano to caulk everywhere. Not only is everything all water tight now, it looks totally awesome.


And of course, then I realized that it would look so much nicer if the little gaps between the edge tiles and the molding were also filled in AND I was lucky enough that Steve was willing to go back and fill them in. Our bathroom is one step closer to being done. I would love to say it will be done by Ben's second birthday (we started the reno just a couple months before he was born) but I believe that would be a lie:)
Tuesday, January 10, 2012
Hardware sale
I noticed a week or two ago that Restoration Hardware is having a sale and everything, yes everything that is full price is 20% off which got me thinking. (btw, the sale was extended a day and ends tonight) I also had a small store credit that I needed to use. Everything on sale is an extra 10% off so of course I had to buy a snow ball maker (I know, I'm a wimp but what's a So-Cal girl to do when her hands get all cold making snowballs? Well, get a snowball maker of course).
 I was going to take Woodworking class again this winter in order to make a bathroom built-in, however decided against when my dad mentioned he was looking for projects when they visit at the end of the month.


Enter bathroom hardware. I figured that I would need 6 ball tip hinges and 3 latches. We (well my dad with Steve and I helping where we can) are building a cabinet that will be about 13" wide and deep and 9' tall. It will have 3 cabinet doors in order to break things up. Originally I wanted 2 cabinet doors as well as a drawer at the bottom but when Steve and I were talking it over, we decided against the drawer for a couple reasons. Sure, it would look nice, but do you really need a drawer for a cabinet that is only 13" deep? Also, being that the cabinet is right next to the door and the door swings into the bathroom, Steve imagined disaster the first time that someone tried to open the bathroom door while the drawer was open. Drawers are also a lot more work to build than a cabinet door.
Anyways, so that means that we need 2 hinges x3 doors=6 and 3 latches in Polished Nickel. Well, the hinges aren't too much cheaper than Rejuvenation, however the latches are much cheaper ($25 a piece at Rejuv or $11.50 + 20% off at Restoration Hardware), even after shipping, We decided to get one extra latch so that the latches on the cabinet match the one on the medicine cabinet.
Monday, January 9, 2012
A truly local shop: Schoolhouse Electric
Did you hear that Rejuvenation sold out to Williams Sonoma? I know, sad. No longer a truly local Portland Company, however, I still love their stuff & really hope they keep the salvage dept. and the same feel.
Last weekend I convinced Steve that we should really start "shopping" for appliances in order to plan for our kitchen remodel, so we headed off to Basco appliances in the Pearl District of Portland (more on that later, but we bought nothing but it was a very worthwhile trip & I am delighted to say that Ben allowed us to stay and get info for almost 90 minutes without complaining:).

After Basco, Steve wanted to check out the new Schoolhouse Electric on Nikoli in the far NW part of Portland. I was shocked he wanted to go there because he typically has a 10 minute or less tolerance for shopping. However, Steve does enjoy shops like Schoolhouse electric, where there are eclectic and one of a kind, retro items.
We had heard it was cool inside, but WOW, it was super cool. A huge space with tons of room to grow. And of course, in Portland style, they had a Ristretto Roasters Coffee Shop inside so we had to each get an Americano and of course Ben deserved a cookie after all of his patience (oh yea, Ristretto is a local shop by us on Fremont & their pastries are made by a woman who just opened a brand new Bake Shop on Sandy and 54th-yummy (next to Case Study Coffee-yummy again)). They also had a cool flower shop on site. We heard that they are going to be leasing space to local artisans or maybe taking in stuff made by local artisans to sell.
Well, of course I wanted pretty much everything. But I am really jones-ing for that restroom sign-I would love to put it on our basement bathroom door someday.


Last weekend I convinced Steve that we should really start "shopping" for appliances in order to plan for our kitchen remodel, so we headed off to Basco appliances in the Pearl District of Portland (more on that later, but we bought nothing but it was a very worthwhile trip & I am delighted to say that Ben allowed us to stay and get info for almost 90 minutes without complaining:).

After Basco, Steve wanted to check out the new Schoolhouse Electric on Nikoli in the far NW part of Portland. I was shocked he wanted to go there because he typically has a 10 minute or less tolerance for shopping. However, Steve does enjoy shops like Schoolhouse electric, where there are eclectic and one of a kind, retro items.
We had heard it was cool inside, but WOW, it was super cool. A huge space with tons of room to grow. And of course, in Portland style, they had a Ristretto Roasters Coffee Shop inside so we had to each get an Americano and of course Ben deserved a cookie after all of his patience (oh yea, Ristretto is a local shop by us on Fremont & their pastries are made by a woman who just opened a brand new Bake Shop on Sandy and 54th-yummy (next to Case Study Coffee-yummy again)). They also had a cool flower shop on site. We heard that they are going to be leasing space to local artisans or maybe taking in stuff made by local artisans to sell.
 |
| little front area and coffee shop is just to left of tables |
 |
| entrance area (coffee tables to left) |
Well, of course I wanted pretty much everything. But I am really jones-ing for that restroom sign-I would love to put it on our basement bathroom door someday.

 |
| we thought it might be cool to recreate this light as a DIY project to go around our basement columns |
 |
| love the industrial look-this could be such a fun play table for Ben |
 |
| clocks-I love clocks |


 |
| this is a total DIY project....thinking basement or you could make these as little stools to sit on, maybe Ben's room? |
Thursday, January 5, 2012
Rock It!
We are fortunate enough to have my grandparents 1940s bedroom furniture. A whole matching set-we're so grown-up. And even felt more grown-up when we got a real bedframe a few years back.
Anyways, I thought our teeny tiny bedroom was looking about as good as it could look for a master bedroom of it's size until last January. I started watching my friend's daughter, Laurel, 2 days per week last January in exchange for her watching Ben while I work.


And that's when it got ugly. Laurel is lovely. I mean our bedroom got ugly. That when the pack n' play (a portable crib for those not familiar with all things baby) got set-up and stationed in our room. And there it lived until December when I decided to take back our room. Kinda weird that we have a crib in our room when Ben has never slept in our room.
We never put Laurel upstairs because we have no heat up there and I didn't think I would be able to hear her. I decided to see how the kiddos would do in the same room and they actually sleep wonderfully.
So why not take a 1940s chair from my other grandparents and add it to the mix? Well, that's what I did just this past weekend. And I really like it. It gives me a great place to pile up my clothes (as opposed to the floor or and of the bed). But really, it matches the other furniture very well. My grandma of almost 93 years still has the matching sitting chair but she says that someday it will be all mine reunited with it's rockin' mate. :)

A fun little update that makes the room look even more adult-ish and finished to me!
Anyways, I thought our teeny tiny bedroom was looking about as good as it could look for a master bedroom of it's size until last January. I started watching my friend's daughter, Laurel, 2 days per week last January in exchange for her watching Ben while I work.


And that's when it got ugly. Laurel is lovely. I mean our bedroom got ugly. That when the pack n' play (a portable crib for those not familiar with all things baby) got set-up and stationed in our room. And there it lived until December when I decided to take back our room. Kinda weird that we have a crib in our room when Ben has never slept in our room.
We never put Laurel upstairs because we have no heat up there and I didn't think I would be able to hear her. I decided to see how the kiddos would do in the same room and they actually sleep wonderfully.
 |
| the throw was a $3? estate sale find |

A fun little update that makes the room look even more adult-ish and finished to me!
Wednesday, January 4, 2012
Wrap it up
Happy 2012!
 |
| getting serious over his first candy cane |
 |
| gorgeous sunny LA |
And of course, he then tackled the other two attic spaces we have. Which of course set me off on realizing what a beautiful disaster of stuff we had stuffed in the attic.
We pulled out some old crap that is not even worthy of Goodwill, 9 GIANT file boxes of Steve's dad's old files that now can be shredded since it's been 10 years (he was an attorney for people with disabilities so we had to keep 'em but are so glad to see them go-we started off with probably over 30 file boxes 4 years ago), and, of course, don't forget the worthless box of baseball cards from Steve's childhood that Steve is finally ready to give over to Goodwill. Next, working on him giving up his Garfield collection. I told him he could keep one. He already let me sell all the Garfield books to Powells-and we made enough to buy him a couple pairs of socks from there (naturally, I put them in his stocking). I parted with all but four (of 13-I know, excessive) of my Cabbage Patch Kids and found out that Oxy Clean is awesome at removing 25 year old dirt stains.
But I did come across my baby memory box and pulled out a cool plush carrot. Inside, there is a plush bunny family that my grandma made for me almost 30 years ago-still in perfect condition and Ben loves it! Also, found a picture (the kind that looks metal-ish-can't think of what they are called right now) from 1925 of my grandma and her family that I hope to frame soon.
Anywho, onto the real project...organizing the two tons of wrapping paper, ribbon and tissue that we had.
 |
| yup, that's allll wrapping supplies |
I have been meaning to do this for awhile but saved it for when Steve was traveling. I wanted to be able to organize while catching up on juicy trash shows on TLC and avoid having Steve make fun of my episode choice the whole time.
 |
| an old theatre trunk |
My friend Sarah told me that she used a storage trunk to organize all of her wrapping supplies.
Steve and I picked up the beauty to use as our coffee table (now used as our side table) several years back at an estate sale for $50. And I love it.
 |
| all decorated & personalized; it also has that old musty smell, not bad, just old |
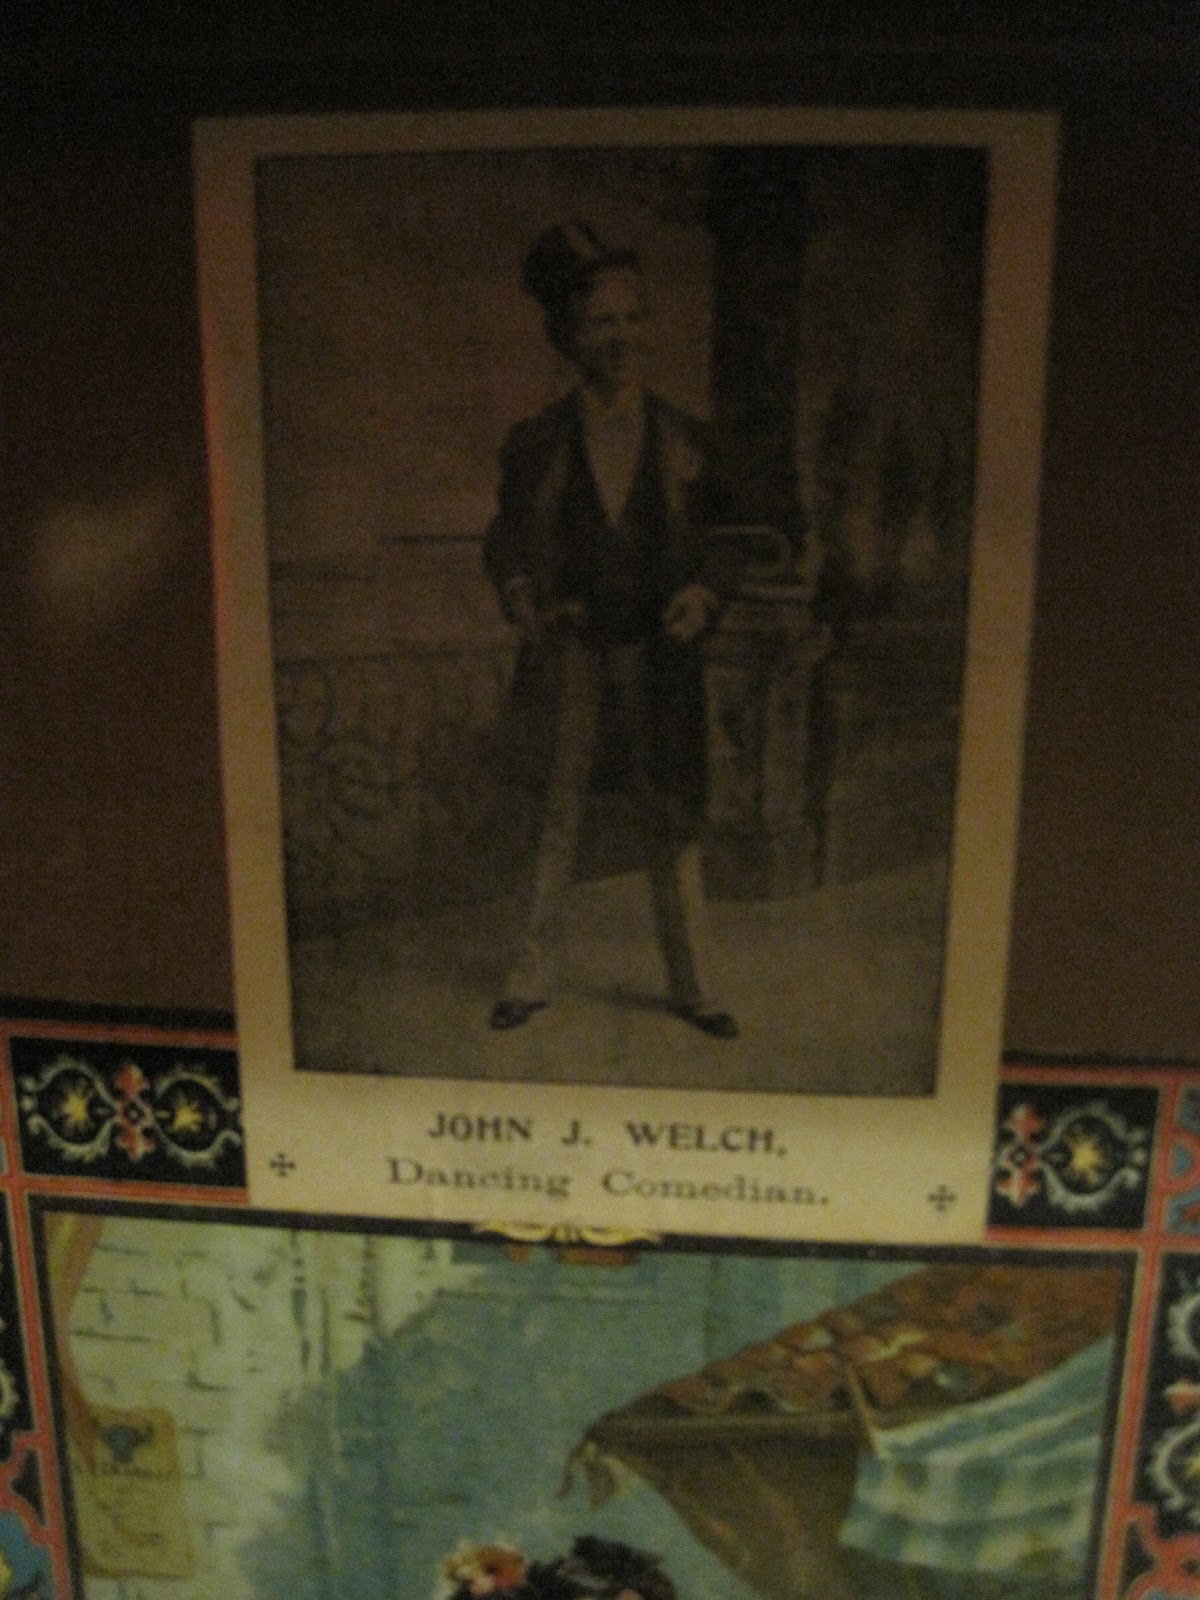 |
| I think it belonged to John, a dancing comedian! |

So after several hours of rotting my brain while catching up on Hoarders and the Kardashians, I was all set and ready to load up the trunk with all of my non-Christmas supplies. I even color coded the tissue into one ziplock!
 |
| the top portion has the ribbon & boxes & some super cool old fabric |
 |
| the bottom section holds the tissue (note that color coding-boo-ya), bags and wrap paper |
Tonight I wrangled all the Christmas supplies into one big box and plan to leave that in the attic.
And this is funny because I think that the pic below is the best we got of the three of us while we were at my parents, cross your fingers my sister got some better ones with her nice camera.

Subscribe to:
Posts (Atom)